
Last updated November 15, 2026
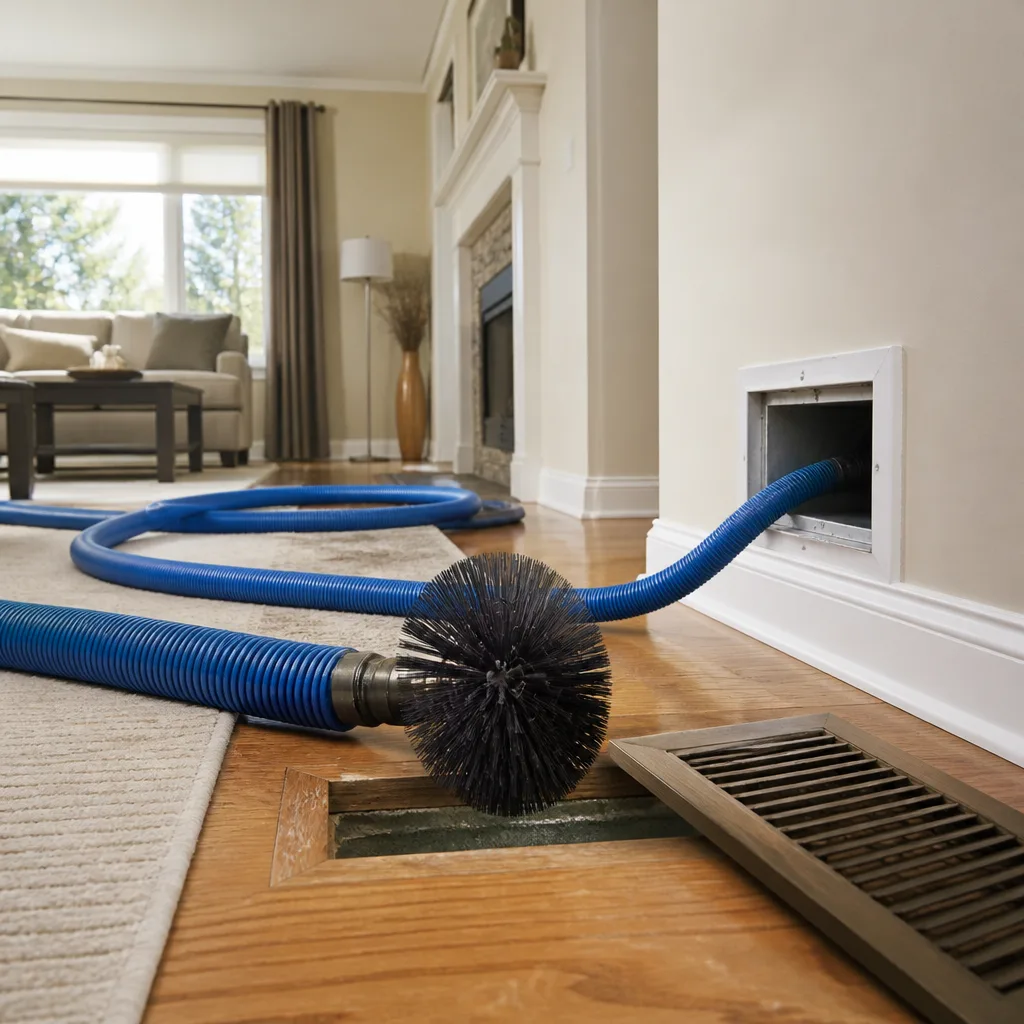 Whole-home duct cleaning
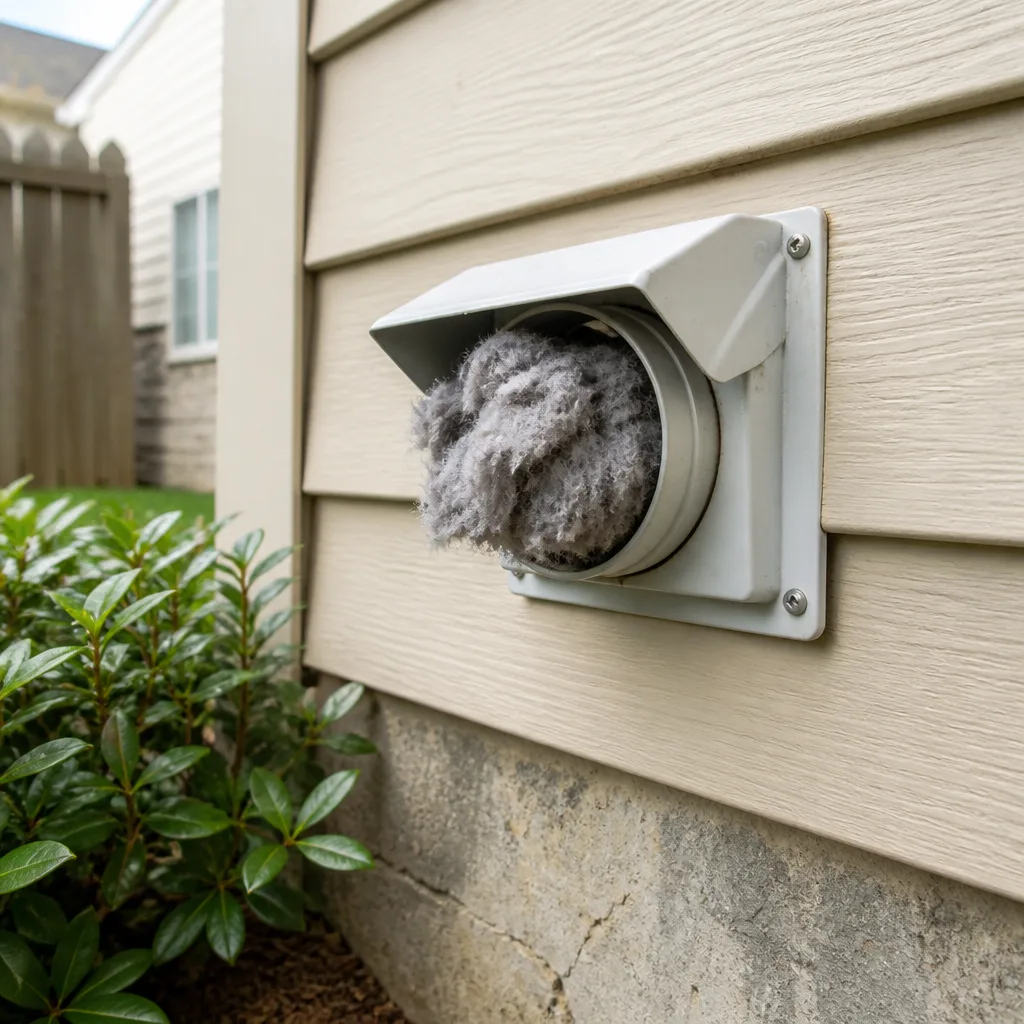 Dryer vent cleaning
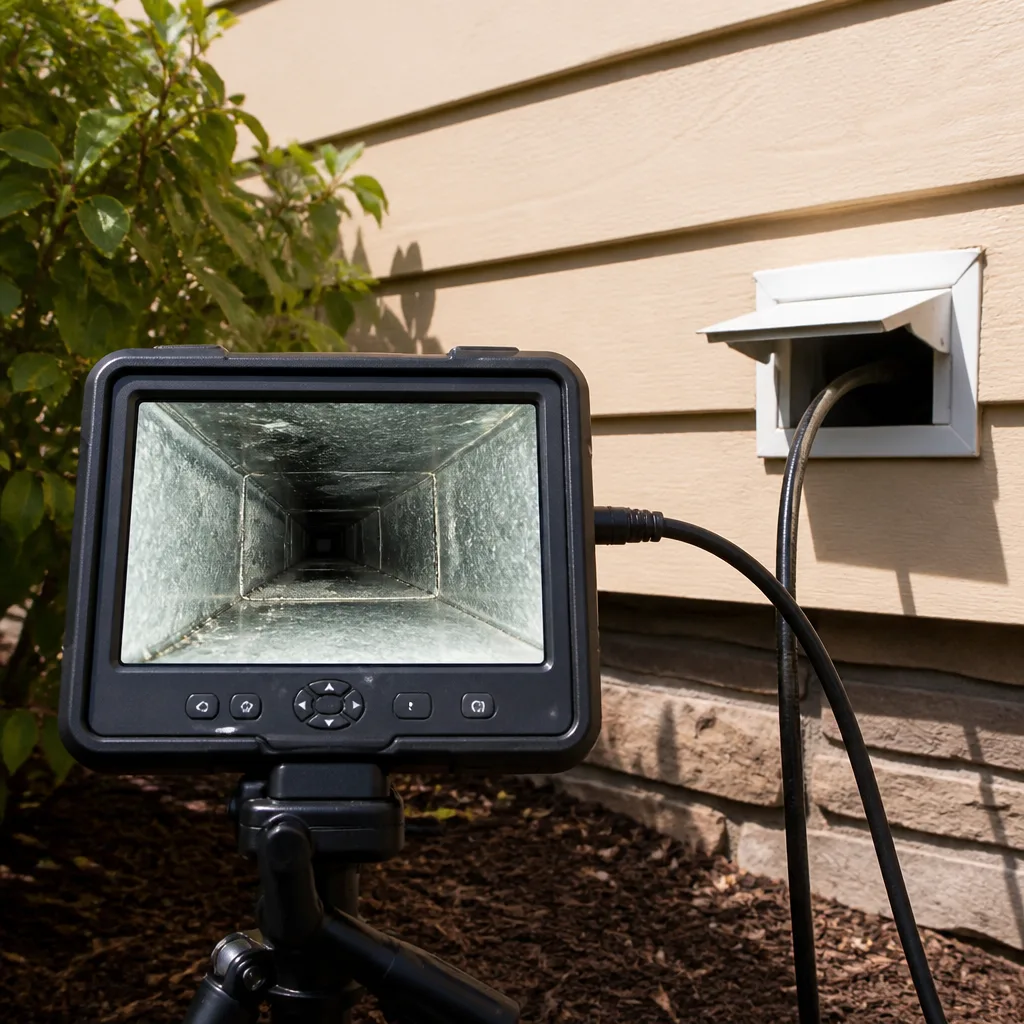 Camera inspection
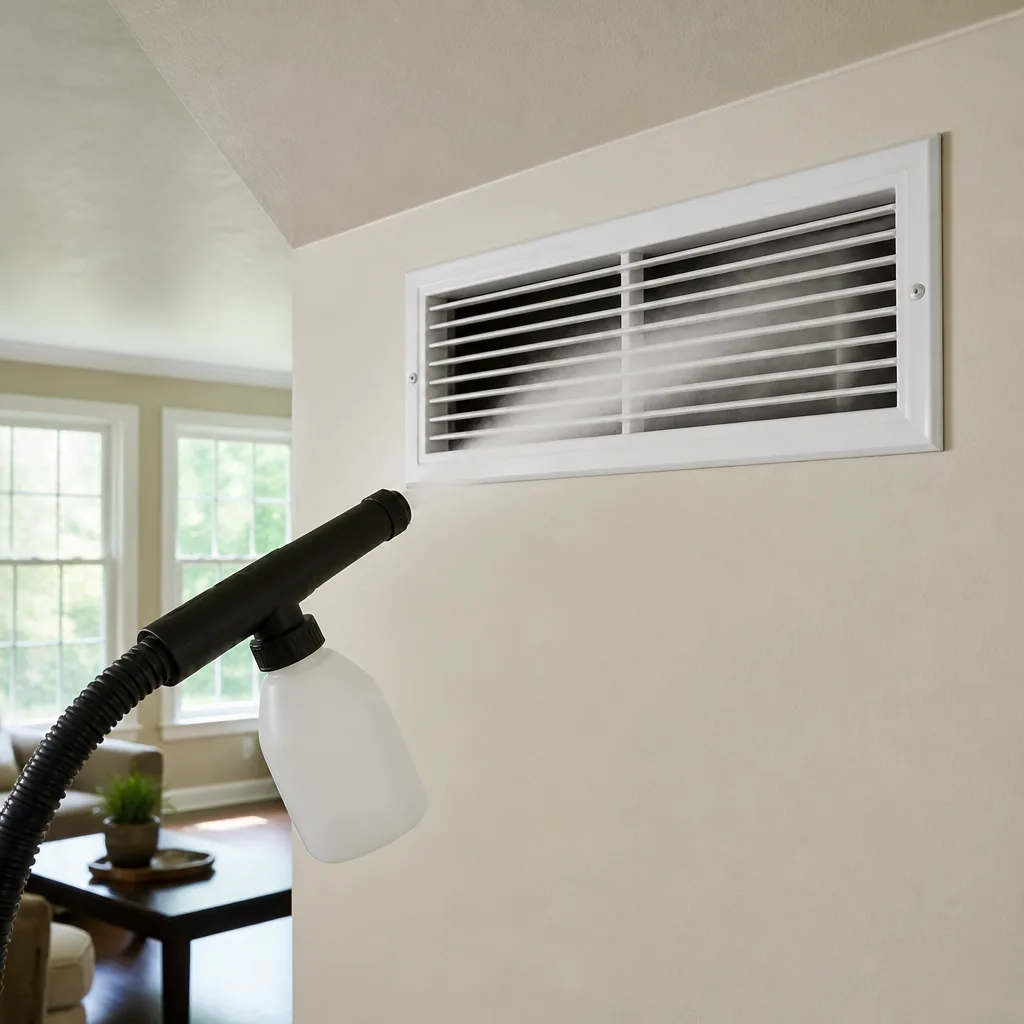 Sanitizing & deodorizing
Whole-system duct and dryer vent check with before-and-after photos - you see exactly what came out of your vents
That "$99 whole-house special" is a bait ad - the real number appears once they are in your hallway, or the "clean" is a shop-vac at the register. We photograph the inside of your ducts before and after instead.
Air Duct Cleaning Maintenance Checklist for Tacoma Homeowners
Changing your filter on schedule feels productive. It’s the one duct-related task every homeowner knows, and it’s easy to measure: you buy a filter, you slide it in, you mark the date. But a fresh filter tells you nothing about what’s already coated your supply plenums, sitting in your return drops, or growing near your evaporator coil. Those are the locations no filter protects, and they’re where the real story of your duct system lives. This guide isn’t a cleaning reminder calendar. It’s a systematic inspection protocol, the same checkpoints our technicians use between professional visits, adapted so you can run them yourself with a flashlight, a phone camera and fifteen minutes. By the end, you’ll know what to look at in your Tacoma home, what each location should look like, and how to document what you find so a technician can act on evidence instead of a vague symptom.
Quick Answer
A working duct maintenance checklist for a Tacoma home means inspecting five accessible locations every season, tracking how fast your filter loads as a proxy for system health, and scheduling professional cleaning roughly every three to five years, sooner if you’ve had a remodel, a pest issue or heavy smoke exposure. The checklist matters more than the calendar: what you find during inspection tells you when to book, not the other way around.
Styles & brands we work with
- Whole-home duct cleaning
- Dryer vent cleaning
- Camera inspection
- Sanitizing & deodorizing
Table of Contents
- The Five Duct Locations You Can Inspect Yourself
- Filter Loading Rate as a Health Signal
- Tacoma’s Seasonal Checkpoints: Smoke, Heat and Condensation
- The Dryer Vent Is Part of the Same Protocol
- How to Document Duct Condition Over Time
- What Happens During a Professional Cleaning Visit
- When Cleaning Isn’t Enough: Duct Repair
- Common Mistakes to Avoid
The Five Duct Locations You Can Inspect Yourself
You don’t need to open walls to learn a lot about your duct system. Five points are reachable in most homes, and each one tells you something different. Take photos at each location so you can compare season over season, and note the date.
- The return air grille. Remove the screws and look up into the return drop with a flashlight. You should see clean sheet metal or flex duct with no visible dust mat. A thin film of light dust is normal. A gray felt-like coating, debris resting on the bottom of the drop, or a musty smell means the return side is loading up and worth a closer look.
- Supply registers. Pop a few registers off and point your phone camera up the branch run. You’re looking for streaks of dust trailing from the register boot, dark staining on the duct walls, or any sign of moisture. Streaking usually means air is leaking at the boot joint and pulling dust in.
- The air handler cabinet. With the power off at the breaker, open the access panel and look at the blower wheel and the cabinet interior. A blower wheel with visible dust buildup on the blades is a sign the whole system is carrying more particulate than it should. This is also where you’ll see whether your filter is seated properly.
- The evaporator coil face. On a central system, the coil sits downstream of the filter. If you can see the coil face, it should look like clean metal fins. A matted, gray or fuzzy appearance means dust is passing the filter and depositing there. Coil cleaning is a separate job from air duct cleaning, so note what you see and mention it when you call.
- The condensate pan and drain area. Standing water, rust trails or biological growth near the pan points to a moisture problem that will feed growth inside the ducts themselves. This is the single most important location to check in a wet climate, and the one most homeowners never look at.
Each location gives you a data point, not a verdict. Two clear locations and one questionable one is a very different situation from five clear locations. Document them all the same way so the pattern is readable.
Filter Loading Rate as a Health Signal
Most homeowners treat the filter as an HVAC efficiency item: change it, forget it. That framing misses what a filter is actually telling you. If your filter loads in six weeks on a schedule that used to last three months, the filter didn’t get worse. Something changed upstream, downstream or in the house itself, and the filter is your cheapest sensor for detecting it.
Here’s how to use it. Pick a filter with a printed date. Write the install date on the frame in marker. When you pull it, write the removal date next to it and keep a running log on the inside of the air handler door or in a note on your phone. After three or four cycles you’ll have a baseline. From there, a sudden shortening of filter life points you toward a few specific causes:
- Duct leakage. Loose joints or disconnected flex runs pull attic or crawlspace air directly into the return, and that air is dirtier than conditioned air. A filter that loads fast while the house feels dusty is a common leak signature.
- Return-side restriction. A collapsed flex run or a return grille blocked by furniture forces the blower to pull harder, and more dust comes with it.
- Remodel or construction dust. Drywall dust and sawdust can travel through a return for months after the work ends. Filters catch some of it; the rest settles in the ducts.
- Fan running continuously. If you’ve set the thermostat fan to “on” instead of “auto,” the blower moves air around the clock and your filter sees it all.
The filter isn’t telling you when to clean your ducts. It’s telling you whether anything has changed since the last cleaning. That’s the more useful question, and it’s the one a maintenance checklist should be built around. Our technicians have up to 10 years of experience reading exactly this kind of pattern, and a log of filter dates is often more informative than anything visible from the register.
Tacoma’s Seasonal Checkpoints: Smoke, Heat and Condensation
Tacoma’s climate gives a duct system three distinct stress windows a year. Running the same checklist in July and in January misses most of what you’re trying to catch.
Post-wildfire smoke season
Western Washington smoke events push fine particulate into homes through open windows, fresh-air intakes and any duct leakage. Smoke particulate is small enough to pass a standard filter and settle in the supply trunk and branch runs. After a significant smoke period, inspect your supply registers and return grille first. Fine gray dust settled on horizontal duct surfaces is the signature. If your filter loaded fast during smoke season, that’s consistent with the same problem. A higher-MERV filter during smoke season helps, but check that your system can handle the added static pressure before upgrading permanently. Honeywell and Aprilaire filtration components are built to handle that trade-off more precisely than a generic panel filter.
Post-heating season
The first heating cycle of fall pushes whatever has settled in the ducts over summer back into the living space, and it’s often the moment a homeowner notices a smell or a dust plume at the registers. Detectable odor when the heat comes on, or a visible puff of dust at start-up, is the checkpoint. That said, the duct surfaces you’re smelling accumulated during the cooling season, so this inspection often confirms what a summer of running the fan already loaded into the system.
Post-winter condensation window
Tacoma’s wet winters and shoulder-season temperature swings put moisture into crawlspaces and attics, and duct runs through either space are exposed to it. Condensation on the outside of supply ducts, damp insulation around flex runs in a crawlspace, or musty odors when the fan runs all point to moisture reaching the duct system. Moisture plus settled dust is the condition that supports biological growth, so this is the single checkpoint worth acting on quickly rather than noting for later. If you find it, that’s the moment to book Tacoma duct service rather than wait for a scheduled interval.
Three seasonal checkpoints a year, fifteen minutes each, and you’ll know more about your duct system than most homeowners learn in a decade.
The Dryer Vent Is Part of the Same Protocol
Dryer vent cleaning is usually treated as its own separate errand, if it happens at all. That’s a mistake, both for fire safety and for your duct system. Lint is fine, mobile and travels on air currents. Where a dryer vent runs through a wall cavity or alongside HVAC ductwork, lint can migrate into adjacent duct runs through gaps at penetrations, and it collects in the same low spots dust does. A single annual protocol that covers both is more effective than either in isolation.
Your own inspection covers a few things safely. Pull the dryer out enough to check the flexible transition duct behind it for crushing or kinks. Disconnect the transition duct at the dryer and look inside the wall-side connection with a flashlight for visible lint accumulation. Check the exterior vent hood for a stuck flapper or visible lint at the opening. Do not attempt to push a brush or rod through the full run yourself: a jammed brush in a long or elbow-heavy vent run is a real risk, and dryer vent fires are one of the leading causes of residential house fires. The full run inspection is a job for the right equipment.
When we handle dryer vent cleaning, the same containment equipment we use for ducts applies: negative-air pressure keeps lint from spreading into the room, and the full run is inspected, not just the accessible ends. Adding the dryer vent to your annual duct checklist means you catch both problems on the same schedule. Note the last cleaning date on the inside of a cabinet near the dryer so it doesn’t drift out of memory.
How to Document Duct Condition Over Time
The biggest gap in most maintenance checklists isn’t what to check; it’s that nothing gets recorded. When you call a professional, “the air feels dusty” is unhelpful. “I checked my supply registers in October and again in April, and the dust on the branch runs doubled” is the kind of evidence that points a technician to a specific cause.
- Standardize your photos. Same five locations, same angle, same lighting each time. A photo from a slightly different position makes the comparison worthless.
- Keep one folder on your phone named with the location and date, so a year from now you can sort by date.
- Log filter install and removal dates on the frame and in a single running note. This is your most reliable data.
- Note smells and sounds. A musty smell at the supply register in March and again in November is a pattern; a single smell on a hot day might be furniture or cooking. Write the date and what the smell resembles.
- Note any HVAC work or remodeling in the same log, because it changes what gets into the ducts and needs to be part of the overall picture.
When you call us, a log like this lets a technician arrive already knowing what to look for and where. It’s also how you verify that the last cleaning actually held. A Duct Cleaning Tacoma visit should produce before-and-after photos of your own system, and your own log gives you the baseline to compare that against.
What Happens During a Professional Cleaning Visit
Professional cleaning is not a more powerful version of what you’d do yourself. It’s a different operation, and knowing what it should look like protects you from the cheap-offer version that shows up with a shop-vac and a sales pitch. During a proper visit, a technician should be able to walk you through every step.
- Negative-air containment. The team sets up equipment that brings the work area under negative pressure before they start. Abatement Technologies negative-air and HEPA containment is what keeps dislodged debris captured rather than recirculated into the room you’re standing in.
- Mechanical agitation. Rotobrush agitation systems are the industry standard for mechanical duct cleaning: the tool actually works the duct surface and moves debris back toward the extraction point, rather than relying on suction alone to lift what’s settled.
- HEPA-filtered collection. Nikro HEPA-filtered collection units capture the debris once it’s dislodged. This is the part that separates a real cleaning from a surface wipe-down, and it’s the reason we name the equipment rather than describing it as “professional.”
- Before-and-after photos of your own ducts. Not a stock photo. Your system. If a company can’t show you that, the job is unverifiable.
- A written report. What was found, what was cleaned, what needs repair. If the technician found a disconnected run or a crushed flex duct, that belongs in the report even if it wasn’t part of the original scope.
One flat price per system, agreed before work starts, is the standard you should hold any company to. Per-vent pricing on a system of unknown run count is the setup for a bigger invoice than the one you agreed to. If you’re in a Tacoma home with a system of any size and you want an honest whole-system range, the estimate is the place to start.
When Cleaning Isn’t Enough: Duct Repair
Cleaning addresses what has accumulated inside the ducts. It does nothing about the structural integrity of the duct system itself, and that’s the gap most homeowners hit right around the third cleaning call. A duct run that’s collapsed, disconnected at a joint, sagging, or sealed with failing tape is leaking air into the attic or crawlspace under your house. Cleaning it won’t fix the leak, and the leak is why the filter loads so fast.
This is where a specialty matters. A company whose only service is cleaning will clean the ducts you have. Our service includes air duct repair as a standalone offering, because we find leaks and disconnects routinely and it makes no sense to leave a known problem in place after the system is clean. What repair looks like depends on what’s found: reconnecting a disconnected run, replacing a crushed section of flex, resealing joints with the right tape and mastic, or in some cases re-supporting a sagging trunk line. A qualified technician can tell you during the visit which of those you’re dealing with and what it will take. If a contractor is going to open the supply trunk for cleaning and sees a failed joint, the repair should be part of the same conversation, priced on its own, and quoted before work begins.
When you call us, a log like this lets a technician arrive already knowing what to look for and where. It’s also how you verify that the last cleaning actually held. A Duct Cleaning Tacoma visit should produce before-and-after photos of your own system, and your own log gives you the baseline to compare that against.
Common Mistakes to Avoid
- Treating the filter change as the whole routine. The filter is one checkpoint out of five. On its own it tells you a little and implies much more. Skip the registers, the return drop, the blower and the coil, and you’ll miss the locations where the real accumulation lives.
- Trusting a low advertised price as a whole-system price. The cheap figure in a mailer is often a per-vent or starter price, and the real total only appears on the invoice after the technician is in your home. A whole-system, one-flat-price quote before work starts is the standard to hold.
- Skipping the inspection window right after wildfire smoke. Smoke season loads fine particulate into the same ducts that settle dust in the off-season. Running a normal-year schedule through a heavy smoke year means the accumulation goes unexamined.
- Ignoring a musty smell after a wet winter. A smell that shows up only when the fan runs, and clears when it’s off, is coming from inside the duct system. Treating it as a seasonal annoyance means the moisture problem gets a longer runway.
- Forgetting the dryer vent exists. Lint accumulation in a dryer vent is one of the leading causes of residential house fires, and the vent run gets more use than any single duct branch. Pulling it into the same annual checklist costs nothing but a reminder.
- Cleaning instead of repairing. A disconnected run behind a wall will fill the system with crawlspace air within a season. Cleaning a leaking system without repairing the leak wastes the cleaning.
- No documentation. Without photos and dates, every call to a professional starts from zero. With them, you can point to a change and let a technician read it.
See the difference
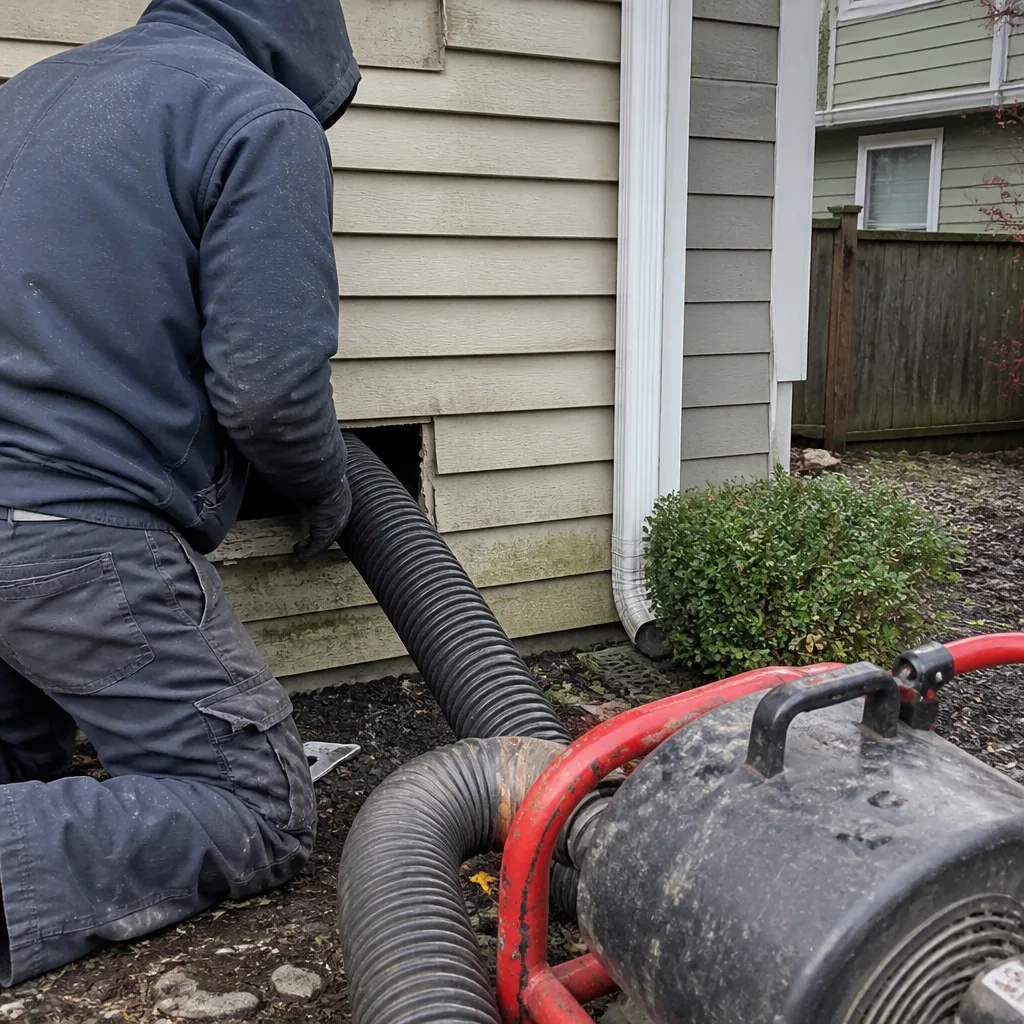 Before
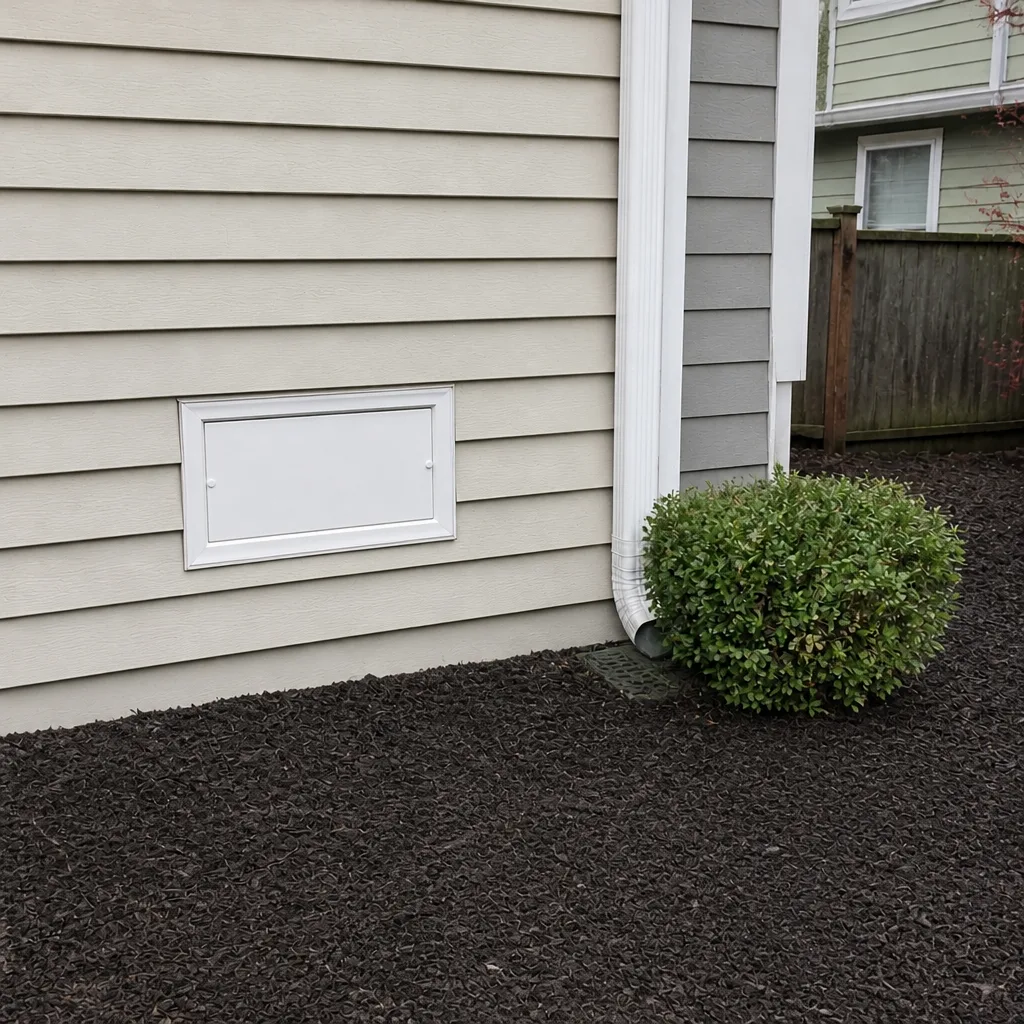 After
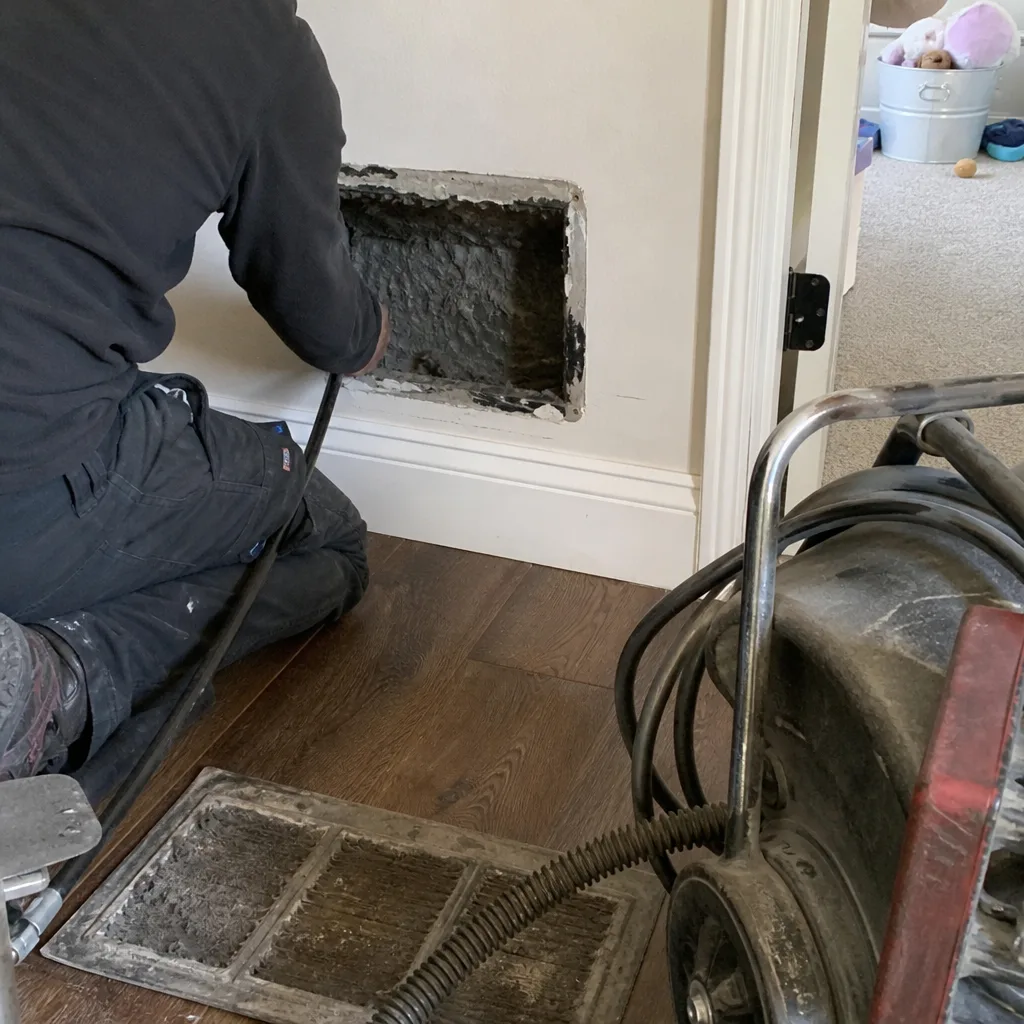 Before
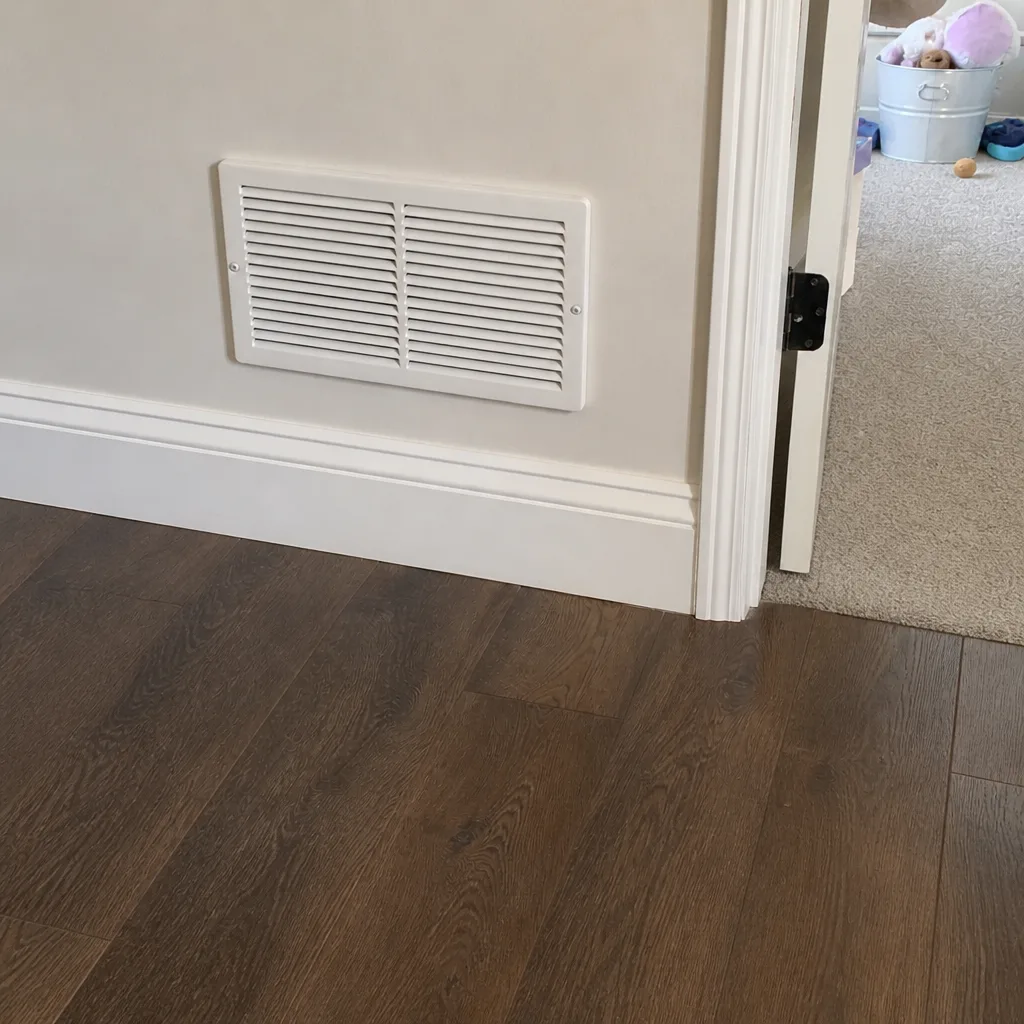 After
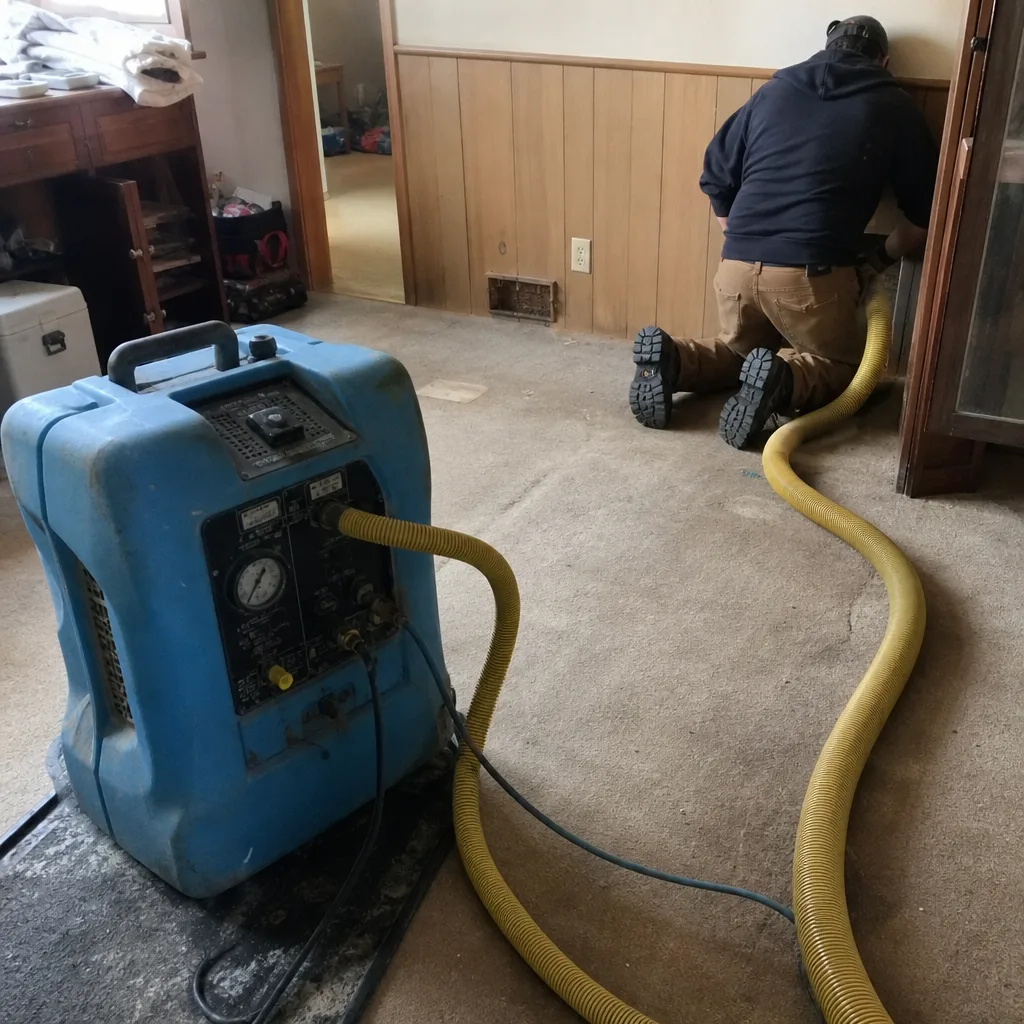 Before
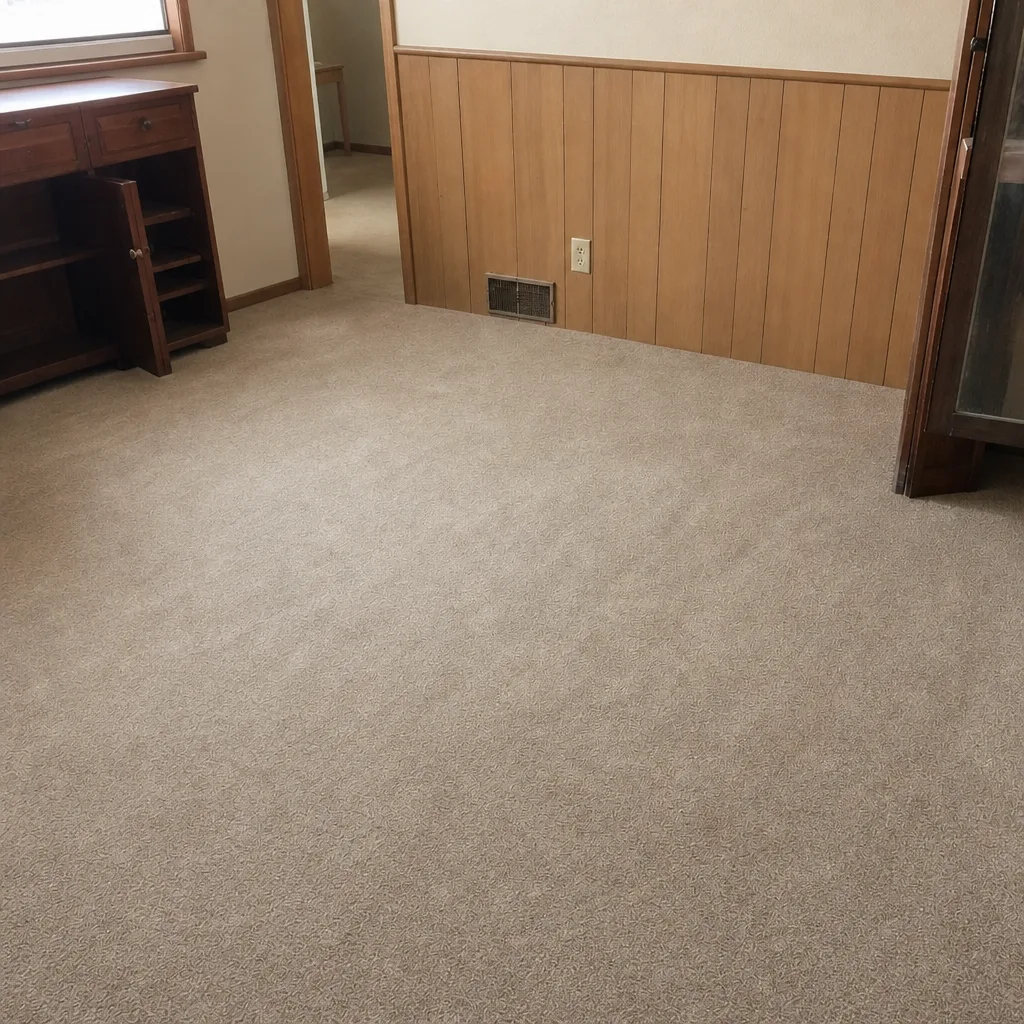 After
When to Call a Professional
Call a professional rather than extending your own inspection when any of the following is true: a musty or stale smell appears at the supply registers and clears when the fan stops; your filter loading rate has shortened noticeably from its baseline; visible dust streaks trail from multiple register boots; there’s moisture or biological growth visible near the evaporator coil or condensate pan; the system is over three years from its last professional cleaning and you’ve done a remodel or had any pest activity; or a dryer vent has never been inspected. Those are the conditions our technicians look for, and they’re specific enough to justify a full evaluation rather than another once-over with a flashlight.
Duct Cleaning Tacoma offers free estimates in Tacoma; call (888) 870-9539. We answer 24/7. Fast dispatch from 7am to 7pm, Sunday through Friday. The estimate is free and the price is set per job by the written estimate.
Frequently Asked Questions
Most Tacoma homes are in good shape with professional cleaning roughly every three to five years, and the inspection checklist is what should move that window earlier. Homes that recently remodeled, had pest activity, run the fan continuously, or experienced a heavy wildfire smoke season should treat the inspection as the trigger, not the calendar. If your inspection turns up one of the conditions in the previous section, that’s the moment to book rather than wait for the interval.
Yes, for the five accessible locations in this guide, if you use the power-off method for the air handler and don’t force anything. The five locations are the return grille, a few supply registers, the air handler cabinet with the breaker off, the evaporator coil face if reachable, and the condensate pan area. What you should not do yourself is push a brush or rod down a dryer vent run or into any duct run, and you shouldn’t attempt to remove components to get a better look. Photograph, note, and leave the intervention to a technician.
Low quotes are usually low because they’re priced per vent or as a starting figure, not as a whole-system price, and the total only settles once the technician is on site. A quote that’s honest from the start is a one-flat-price-per-system figure agreed before work begins, with no per-vent component and with before-and-after photos of your own ducts included in the job. That’s the standard we hold our own estimates to. Call (888) 870-9539 for an exact quote; estimates are free.
You should be shown before-and-after photos of your own duct system, not a company stock image. A technician who set up negative-air containment and mechanical agitation in your home can photograph the result inside your ducts. If a company can’t provide that, or the job took ten minutes, there’s no way to verify it happened. The equipment used matters as much as the photo: Rotobrush agitation and Nikro HEPA collection are named tools that produce verifiable results.
Yes, and for two reasons. First, lint buildup in a dryer vent is one of the leading causes of residential house fires, which makes it a safety item worth putting on the same schedule as your duct inspection. Second, in a home where the dryer vent runs near HVAC ductwork, lint migrates into adjacent runs and adds to the accumulation. Treating them together catches both problems in a single visit.
Cleaning alone is enough if your ducts are intact and the only issue is accumulation. Repair is needed if a run is collapsed, disconnected, sagging or leaking at a joint, which shows up as a fast-loading filter, dust at specific registers, or crawlspace air reaching the living space. A technician can identify which case you’re in during the visit. If repair is needed, it can be quoted before the work is done.
The Bottom Line
A duct maintenance plan for your Tacoma home is an inspection protocol, not a cleaning schedule. Five accessible locations checked each season, a running log of filter install and removal dates, and three seasonal checkpoints tied to smoke season, heating season and the wet-winter condensation window will tell you more about your system’s health than any advertised interval. Add the dryer vent to the same annual routine, since lint and dust accumulate on similar schedules and the fire-safety stakes are higher. Document what you see with dated, consistent photos so a technician can act on evidence. When the evidence points to a professional visit, call (888) 870-9539. We answer 24/7. Fast dispatch from 7am to 7pm, Sunday through Friday. The estimate is free, and the price is set per job by the written estimate.
Written by the team at Duct Cleaning Tacoma.