
Last updated November 15, 2026
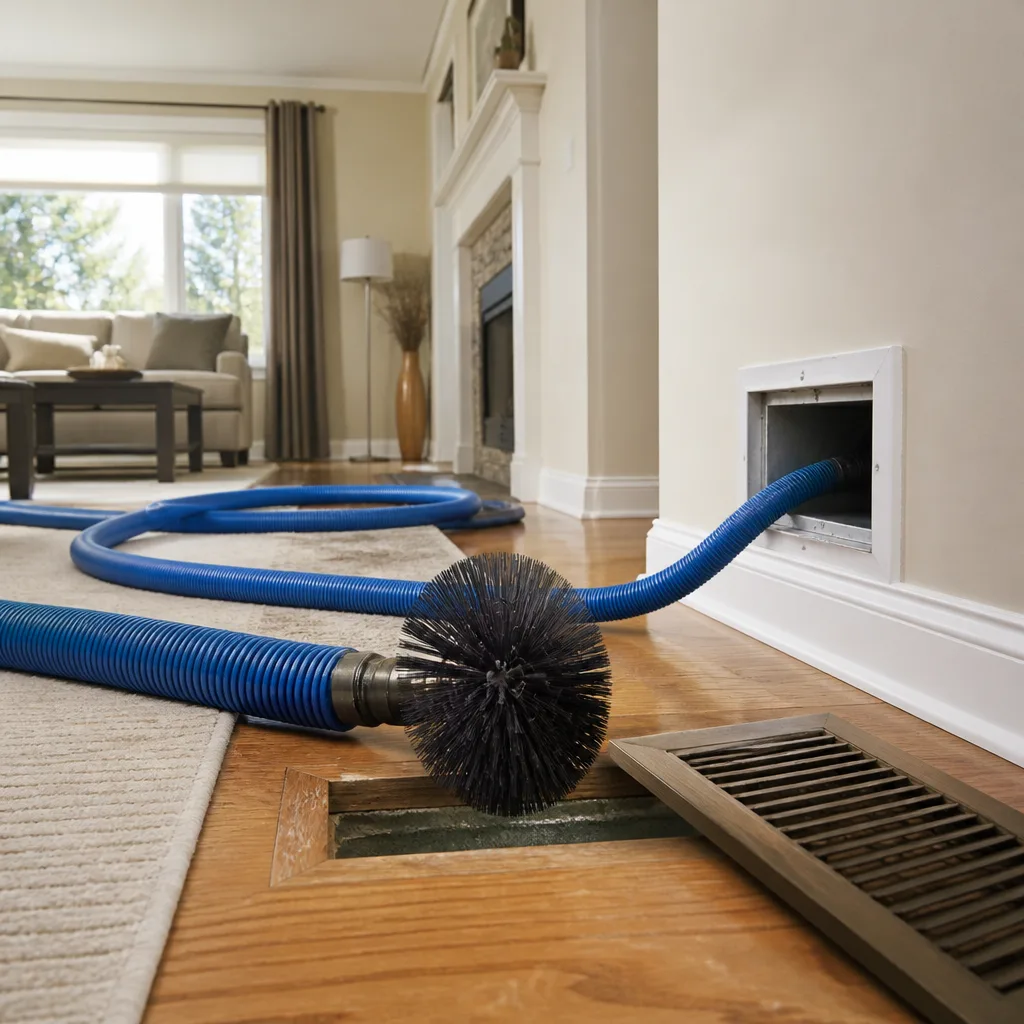 Whole-home duct cleaning
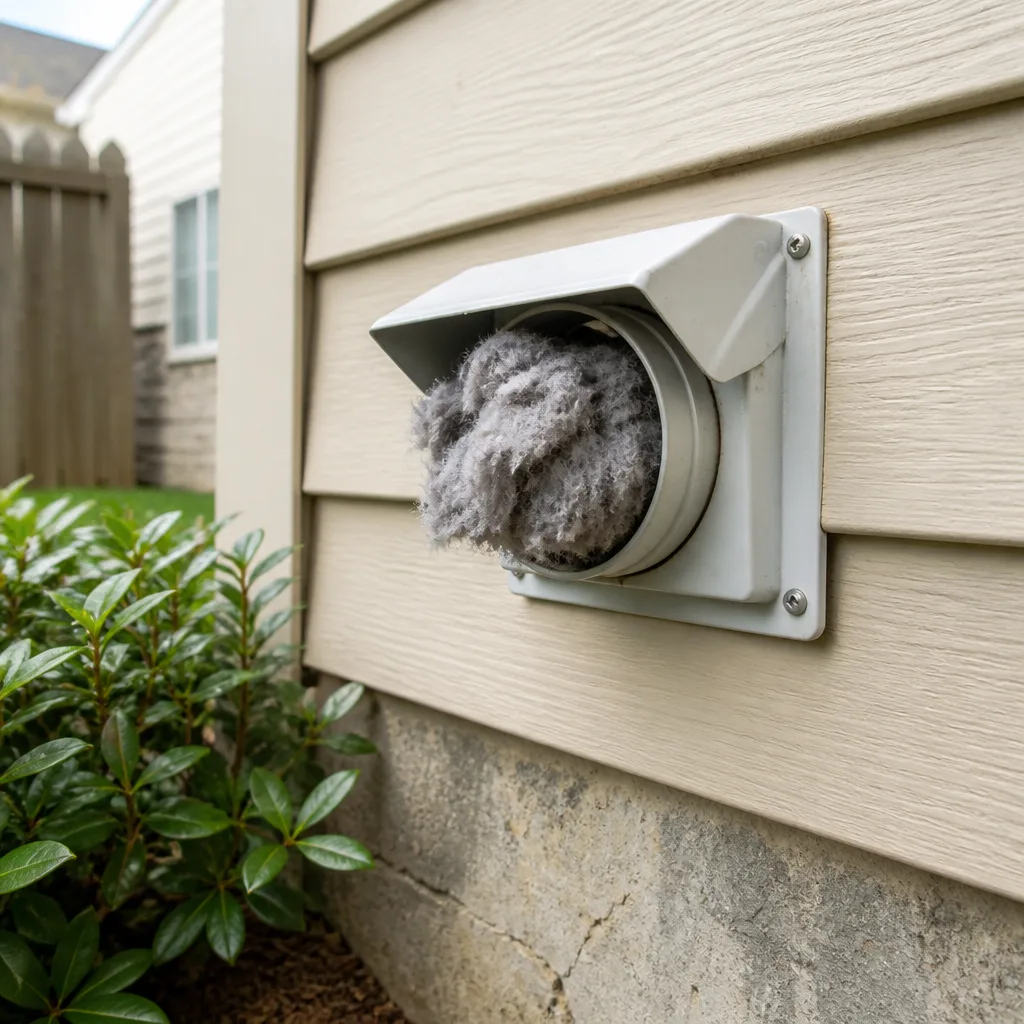 Dryer vent cleaning
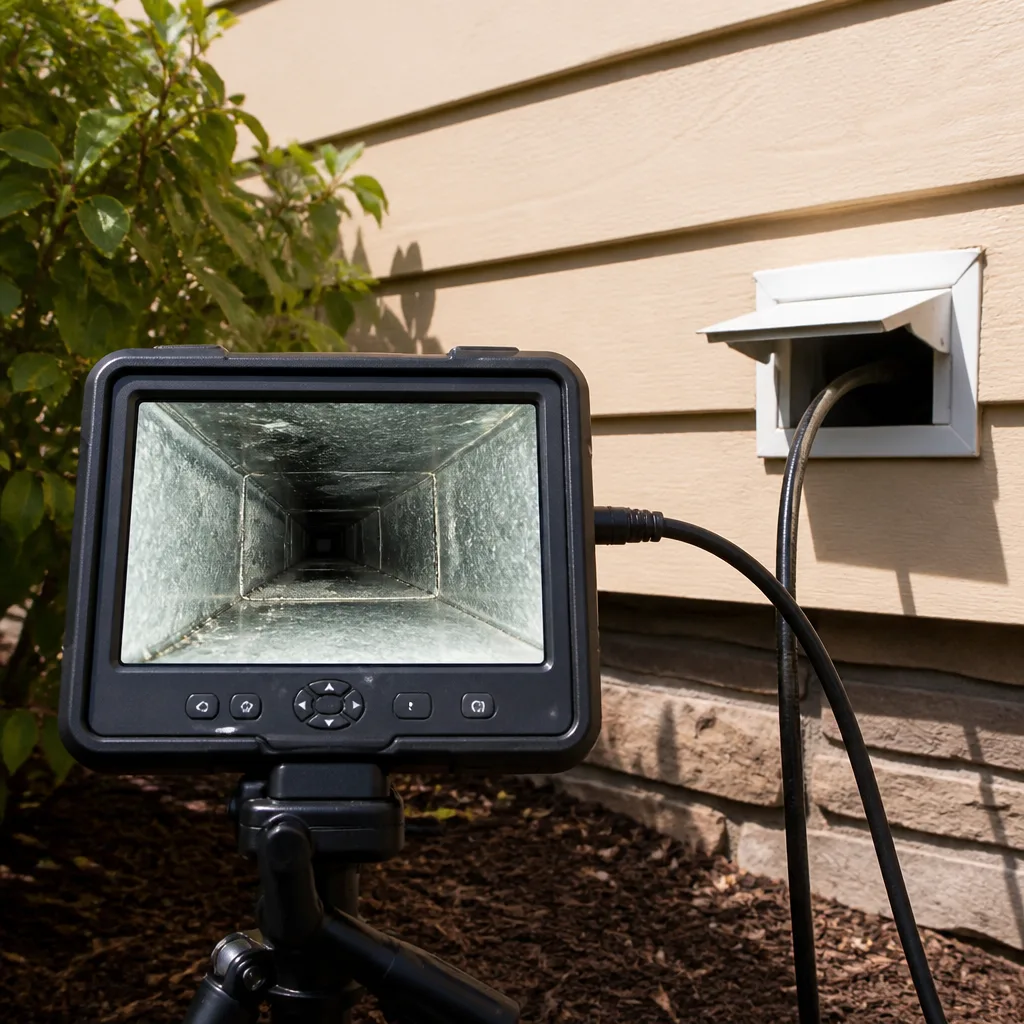 Camera inspection
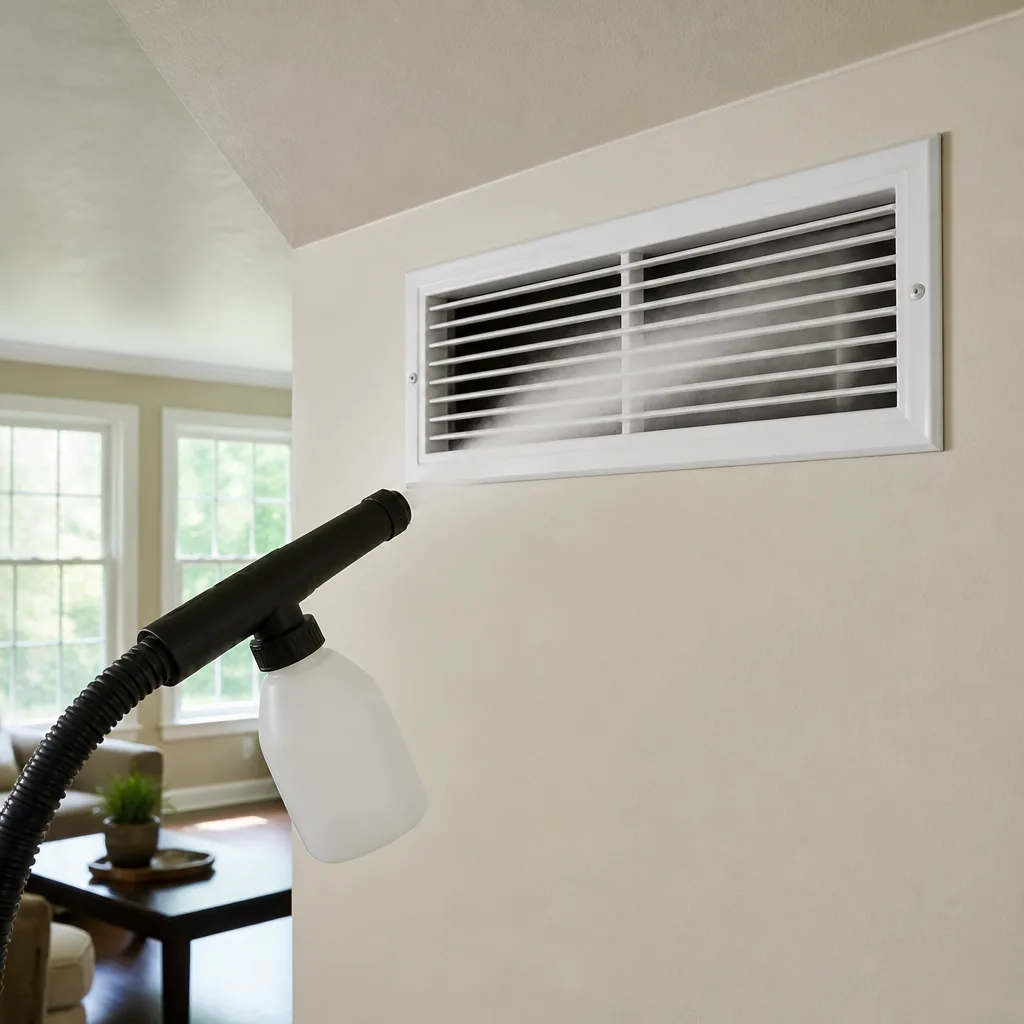 Sanitizing & deodorizing
Whole-system duct and dryer vent check with before-and-after photos - you see exactly what came out of your vents
That "$99 whole-house special" is a bait ad - the real number appears once they are in your hallway, or the "clean" is a shop-vac at the register. We photograph the inside of your ducts before and after instead.
DIY vs Professional Air Duct Cleaning: The Tacoma Homeowner’s Decision Guide
A shop vac and a dryer vent brush kit from the hardware store will clean the first 18 inches of your supply register openings, and that’s about it. The contamination that actually affects air quality and system performance sits in the main trunk lines, the return plenums, and the duct board lining that no consumer tool can reach. We’re not here to tell you duct cleaning is too dangerous to touch, because it usually isn’t. The real problem with DIY is that it stops where the job starts, and most homeowners never find that out because the visible register looks clean. This guide draws the line for Tacoma homeowners: which tasks you can handle correctly, which ones physically cannot be done without professional suction and agitation, and what the honest cost comparison looks like over three years.
Quick Answer
DIY duct cleaning is worth doing for register covers, filter compartments, and the first stretch of accessible dryer vent, but it cannot clean a whole duct system. A shop vac moves a few hundred cubic feet per minute at best, and without negative-pressure containment it stirs settled debris into the air rather than capturing it. For anything beyond surface maintenance, especially trunk lines, return plenums, and old duct board, you need professional equipment in the 2,000+ CFM range with rotating agitation brushes and HEPA collection.
Styles & brands we work with
- Whole-home duct cleaning
- Dryer vent cleaning
- Camera inspection
- Sanitizing & deodorizing
Table of Contents
- What DIY Duct Cleaning Actually Accomplishes
- Where DIY Fails: The Physics You Can’t Argue With
- Tacoma Cases Where DIY Isn’t an Option
- The Honest Cost Comparison Over Three Years
- How to Do the DIY Tasks Correctly Between Cleanings
- How to Identify a Real Professional Job
- The Repair Gap Most Cleaning Companies Can’t Close
- Common Mistakes to Avoid
What DIY Duct Cleaning Actually Accomplishes
We give credit where it’s due, because the tasks homeowners can legitimately handle do have real value when done correctly. The problem is that most DIY advice lumps those tasks together with whole-system cleaning and implies a homeowner can achieve the same result with less money and an afternoon. That’s where the trouble starts.
Here’s what DIY genuinely handles well:
- Register covers and grilles. Removing each supply and return cover, washing it in warm soapy water, drying it fully, and vacuuming the dust film off the frame is a legitimate task. Registers collect visible dust, pet hair, and cooking film, and cleaning them improves the look of every room and stops a fine dust layer from being pulled into the airstream on every cycle.
- The filter compartment. Vacuuming the dust that settles around the filter slot and the inside face of the air handler access panel keeps debris from being drawn in. This is where a shop vac earns its keep, because the surface is flat and reachable.
- The first bend of the dryer vent. Pulling the dryer out, disconnecting the flexible transition duct, and clearing lint out of the first bend with a brush kit measurably reduces lint accumulation at the most clogged point. This is real progress, temporarily.
- Exterior vent caps. Clearing lint and debris from the outside dryer vent flap so it opens freely restores the airflow the flapper was blocking.
What that amounts to is routine hygiene: the maintenance version of dusting a shelf. It keeps the visible surfaces under control. It doesn’t touch the contamination living a few feet further in, which we’ll get to next.
Where DIY Fails: The Physics You Can’t Argue With
The reason a shop vac can’t clean a duct system isn’t a lack of effort or a trick of marketing. It’s a mismatch in three physical quantities: suction volume, directional control, and containment. Any one gap alone would limit the result; together they cap what DIY can achieve at the register opening.
Suction volume
A typical wet/dry shop vac pulls a few hundred CFM at the hose and far less through a length of duct. A ducted residential system needs suction in the thousands of CFM range to move settled debris from a trunk run many feet from the register. When professional equipment is rated at 2,000+ CFM, that’s the number to compare against, because it’s the number that actually drags caked dust along the bottom of a horizontal branch.
Directional control
Suction alone doesn’t scrub. Duct walls, especially the underside of horizontal runs and the seams where branches meet, hold onto contamination that needs mechanical agitation to release. Rotobrush agitation systems use a rotating brush on a flexible whip that physically scrubs the duct wall while air carries the loosened debris away. There’s no consumer equivalent: a hose taped to a broom handle reaches but doesn’t scrub.
Containment
This is the part most homeowners miss. When a shop vac pulls air from a duct, it also pulls dust from the room, the register, and the surrounding floor into the airstream. Everything that isn’t captured by a HEPA filter on the exhaust goes back into the room. Professional work uses negative-air containment with HEPA filtration, including Abatement Technologies equipment on larger jobs, so dislodged debris is captured, not recirculated. That’s the difference between cleaning a system and redistributing its contents into the air your family breathes.
Duct board fiber
Duct board is a rigid fiberglass product with a foil or fiberglass-mat facing, common in attic and crawlspace runs. Its surface is porous, and dust physically embeds into the outer skin rather than sitting on top of it. A shop vac glides across the fiber without lifting what’s trapped in the pores. Rotating agitation with controlled suction can lift embedded material without shredding the board, but that takes equipment and a technician who knows not to over-agitate a degraded panel.
Tacoma Cases Where DIY Isn’t an Option
In most places, a duct cleaning decision is a judgment call. In Tacoma’s housing stock and weather, there are situations where the decision is made for you, because the contamination is beyond what any homeowner tool can address. Here are the four most common ones we’re asked about in Tacoma.
Post-renovation debris
Drywall dust is one of the worst things a duct system can hold. It’s fine, it’s alkaline, and it settles into every horizontal run and return plenum in the house. A remodel in a Tacoma craftsman or a mid-century ranch pushes enough gypsum dust into the return side that the filter can’t keep up, and shops vac won’t reach past the first register. Professional cleaning after major drywall work is standard practice, not an optional luxury.
Rodent activity
Rats and mice nest in duct insulation and leave droppings and urine residue on duct surfaces. Cleaning that with a shop vac is worse than not cleaning it, because the vacuum lifts contaminated particles into the air you’re standing in. This is a job for contained HEPA equipment and, frequently, a call to a pest professional first. The duct work isn’t ready for cleaning until the animals are out.
Mold-suspect systems
Tacoma’s wet winters produce high indoor humidity, and any duct run that passes through a damp crawlspace or under an unheated attic is a candidate for condensation and mold growth. If you can see discoloration through a register or smell a musty odor when the system starts, that’s not a vacuum-and-brush situation. The system needs evaluation and, often, repair or replacement of affected sections, not just cleaning.
Original 1970s and 1980s duct board
A lot of Tacoma homes still have the duct board runs that were installed when the house was built. Four or five decades of accumulation, combined with the natural aging of the board’s facing, means the material is loaded, and the once-solid foil skin is now brittle or damaged. Cleaning that requires a technician who can judge whether the duct board will survive agitation, or whether it needs repair before cleaning. Consumer tools can’t make that judgment and wouldn’t get far if they tried.
The Honest Cost Comparison Over Three Years
The DIY pitch usually boils down to “why pay a pro when you can do it yourself.” We won’t pretend the math always favors hiring us, because it doesn’t. But the comparison homeowners actually need to run isn’t one DIY attempt against one professional cleaning. It’s what you get for the money over three years, and the outcome differences are real.
| Approach | What you get | What it doesn’t reach |
|---|---|---|
| Shop vac plus a rental brush kit, repeated each spring and fall for three years | Clean registers, clean filter compartment, some dryer vent progress, a broom-handle scratch along the first duct stretch | Trunk lines, return plenums, duct board pores, any contamination past the first few feet |
| One professional whole-system cleaning | Full-system negative-pressure containment, Rotobrush agitation on every branch and trunk, HEPA capture, before-and-after photos of your own ducts | Nothing left in the accessible system; the before-and-after photos are the point |
| Three years of partial DIY | The same surface-level result each time, so nothing gets better year over year; contamination load keeps building | The same list, plus the parts that have built up three extra years of debris |
Part of the DIY cost equation people rarely price in is the time. Two full weekend afternoons of crawling around with a hose, disconnecting registers, and cleaning lint out of your dryer vent, plus a rental fee for anything beyond a basic shop vac, adds up. And the result is still only the register openings. If you’re hiring a pro for a whole-system job every few years anyway, spending that time twice in between mostly covers the visual cleanliness of the grilles.
We do understand the hesitation that pushes homeowners toward DIY in the first place: a low teaser price that becomes a much higher invoice once the technician is on site. That’s the bait-and-switch reputation this trade has earned. Our answer is a single flat price per system agreed before any work starts, no per-vent pricing, and before-and-after photos of the ducts we clean so you can see what changed. If you’d like a comparison figure against your DIY plan, call (888) 870-9539 for a free estimate.
How to Do the DIY Tasks Correctly Between Cleanings
If you’re going to do the surface-level work, do it right, because a poorly executed DIY task can make things worse than doing nothing. Here’s the sequence we’d walk a homeowner through, framed as maintenance between professional cleanings rather than a replacement for them.
- Turn the system off at the thermostat. Cleaning with the blower running is the single biggest mistake DIYers make, because it pulls your loosened dust straight into the supply trunk and distributes it through the house.
- Replace the filter first, not last. Install a new filter before you start. If you clean with the old filter in place, you load it with the dust you’re trying to remove and it can’t clean the airstream it’s supposed to filter.
- Work from register to air handler, not the reverse. For the return side, the closest register to the air handler is the dirtiest one, so start there. For supply registers, any order works because the blower is off.
- Wash every register cover with warm soapy water and dry it fully. Pet hair and cooking film clean off easily, but a wet cover reinstalled over a duct opening adds moisture where you don’t want it. Dry thoroughly.
- Vacuum the filter compartment and the air handler access panel face. A HEPA-filtered shop vac is worth the extra cost over a standard unit for this step, because a standard shop vac’s exhaust is where the fine dust ends up back in the room.
- For the dryer vent, disconnect the transition duct, clear the first bend, and reattach with a metal clamp, not tape. Foil tape works loose, and plastic accordion transition duct traps lint. If you can see daylight at the exterior vent when you finish, the flapper is clear.
- Reinstall covers, restore power, and set the thermostat back to normal. Run the fan for 10 minutes and check that each register has even, unrestricted flow.
What this sequence doesn’t do, and can’t do, is clean the trunk line, the return plenum, or the duct board. For that, we use air duct cleaning with professional agitation and containment as the standard, not as an upsell.
How to Identify a Real Professional Job
The reason so many homeowners finish a professional duct cleaning and feel cheated is that they didn’t know what to look for during the visit. A real professional job has visible checkpoints. You can verify them without any special knowledge.
- They connect a source of suction and containment before they start cleaning. That means a large collection unit outside or connected to the system with a negative-pressure hose, not just a shop vac on the floor. If all you see is a handheld vacuum and a drill brush, you’re paying for the DIY version with a markup.
- They agitate with a rotating brush on a flexible whip in the ducts. Rotobrush systems are the industry standard for mechanical duct cleaning, and a technician who runs one can show you the brush being inserted at each access point. A wand with a nozzle on the end and nothing rotating is suction-only, which leaves the caked layer behind.
- They show you before-and-after photos of your own ducts. Not stock photos, not a demo reel from a different house. Your ducts, your registers, your photos, at the start and at the end. That’s the single most verifiable proof a cleaning happened.
- They quote one flat price per system before starting. No per-vent pricing, no per-foot add-ons discovered mid-job, no surprise scope changes. A written estimate sets the final price and the price doesn’t move once the work begins.
- They can name what they use and why. Nikro HEPA-filtered collection units for capture, Abatement Technologies negative-air containment for larger jobs, and Rotobrush for the mechanical agitation. If a company can’t tell you what equipment they run and how the debris is captured, they probably don’t have it.
- They specialize. A general HVAC company that offers duct cleaning as a side service sends a technician whose primary training is in refrigerant and combustion, not duct work. A dedicated duct team’s entire operation is built around duct systems, dryer vents, and duct repair. That narrowness is the point, not a limitation.
- They can repair what they find. If a technician opens a duct access point and finds a disconnected joint, crushed run, or degraded section of duct board, a cleaning-only operator has to stop and refer you elsewhere. Air duct repair as a standalone capability means the person on site can fix it and finish the job.
None of this is exotic. It’s the standard most operators can’t meet, because the equipment and the training are expensive and the cheap offer is cheap for a reason. If you’re comparing quotes in Tacoma and one is dramatically lower than the rest, ask whether that company uses rotating agitation, HEPA containment, and before-and-after photos. The price will start to make sense.
The Repair Gap Most Cleaning Companies Can’t Close
A surprising number of duct problems you can’t see from the register are mechanical, not cleanliness. Joints come apart at the branch connections, flexible runs sag and collect debris at the low point, duct board panels crack at the seams, and floor-register boots separate from the subfloor. Cleaning without addressing those doesn’t fix them, and in some cases makes them worse.
This is why we do duct repair as a separate service rather than as a cleanup line item. When a technician finds a disconnected run during a cleaning, the honest answer is to stop, reconnect or replace the section, and confirm the system’s structural integrity before moving forward. Cleaning a broken duct system sends debris into the wall cavity or the crawlspace. Cleaning a system with a loose joint re-contaminates the supply side as soon as the blower starts.
Two things follow from that. First, a cleaning and a repair are separate scope items with separate estimates, and we won’t bundle an unrelated high-dollar repair into a cleaning quote to inflate it. Second, some Tacoma homes don’t need cleaning yet, they need repair first. A collapsed flexible run or a disconnected boot at a duct board panel is a repair job, then a cleaning job, in that order. No amount of brushing and suction fixes the underlying problem if the duct system leaks more air than it moves through the house. That said, our interest is keeping the customer honest about the actual condition of the system, and if you hear an estimate that ignores a known repair problem, ask why.
Common Mistakes to Avoid
- Running the blower while you vacuum. This is the top DIY error, and it turns a surface cleaning into a whole-house dust redistribution. Turn the thermostat to off, not just to “fan.”
- Using a standard shop vac instead of a HEPA-filtered unit. The dust a shop vac pulls in is only half the story; the exhaust port pushes the rest back into the room. A HEPA filter on the unit’s exhaust changes where the fine dust ends up.
- Judging cleanliness by the register. A clean-looking grille says nothing about the trunk line ten feet behind it. If you can’t see or reach the trunk, you can’t confirm anything about it.
- Treating a musty smell as a cleaning problem. In a Tacoma home, a musty smell on startup usually means moisture in the system, in a crawlspace run or duct board, and cleaning without fixing the moisture source makes the smell come back. Diagnose first.
- Pulling rodent debris without protective equipment. If you suspect mice or rats have been in the ducts, stop the DIY. Hantavirus and other contaminants travel in dust, and dislodging that dust with a shop vac is the wrong tool for the job.
- Hiring on price alone. The lowest quote in Tacoma is usually the truck-mount suction-only version with no agitation, no containment, and no repair capability. It’s the DIY result with a markup and a firm handshake.
- Skipping the dryer vent because the airflow still works. Lint that isn’t blocking dry airflow right now is still combustible, and dryer vent cleaning is a fire-safety service first and a performance service second. The first bend of the vent is what you can handle; the lint packed against the far wall of the vent run is a different problem.
See the difference
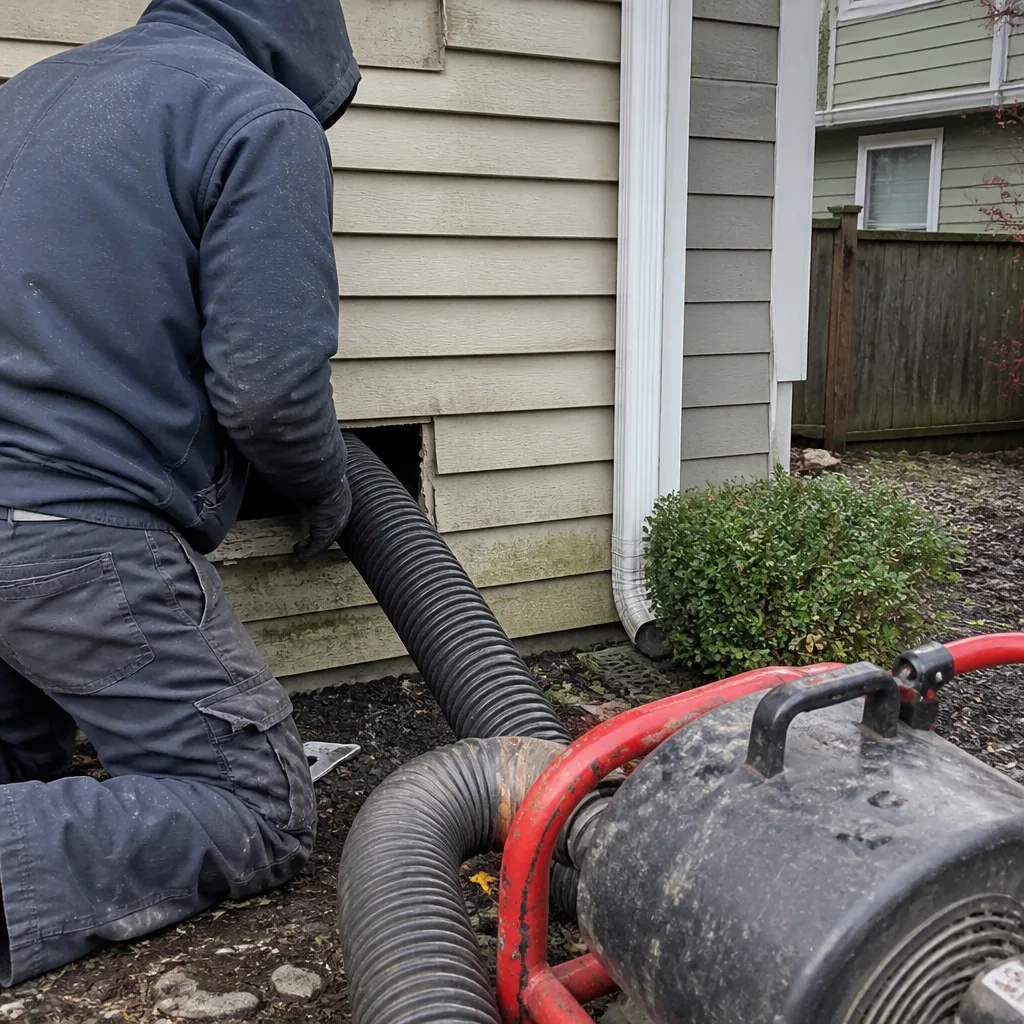 Before
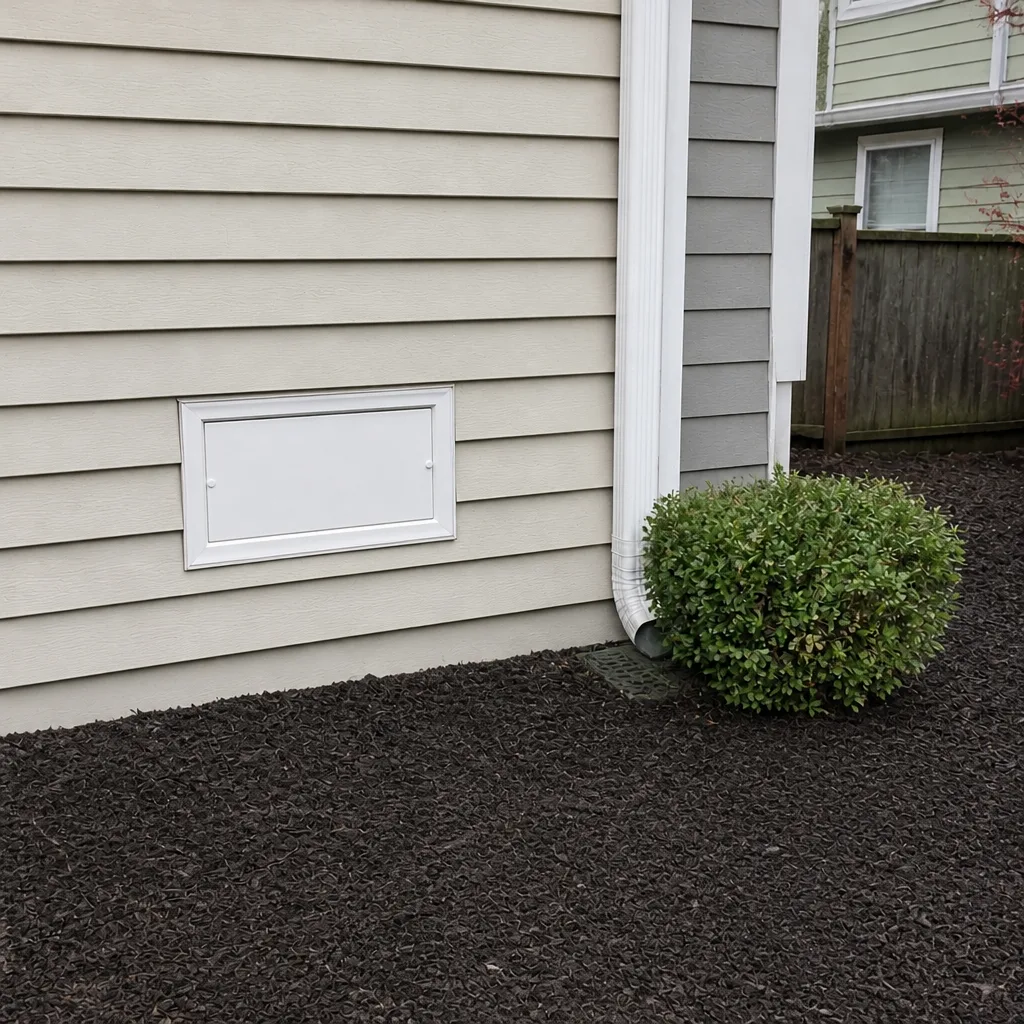 After
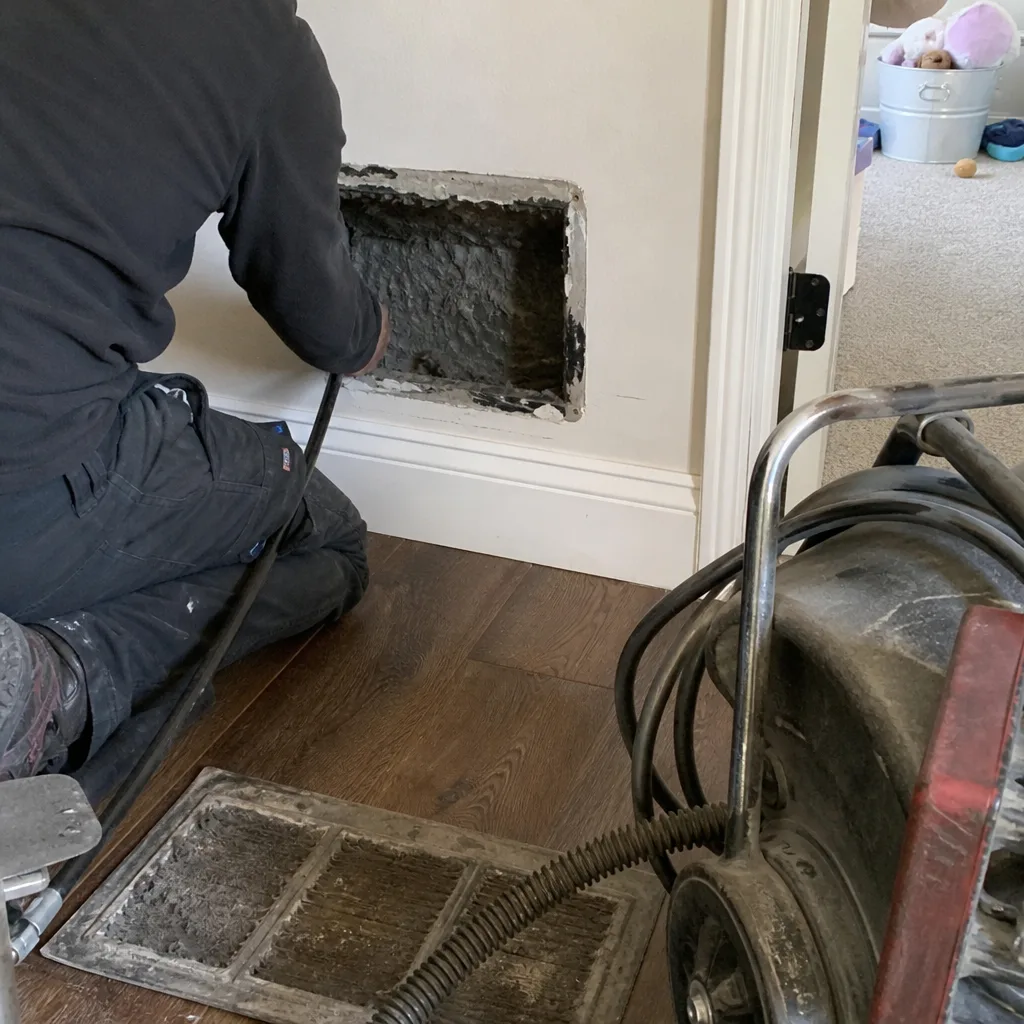 Before
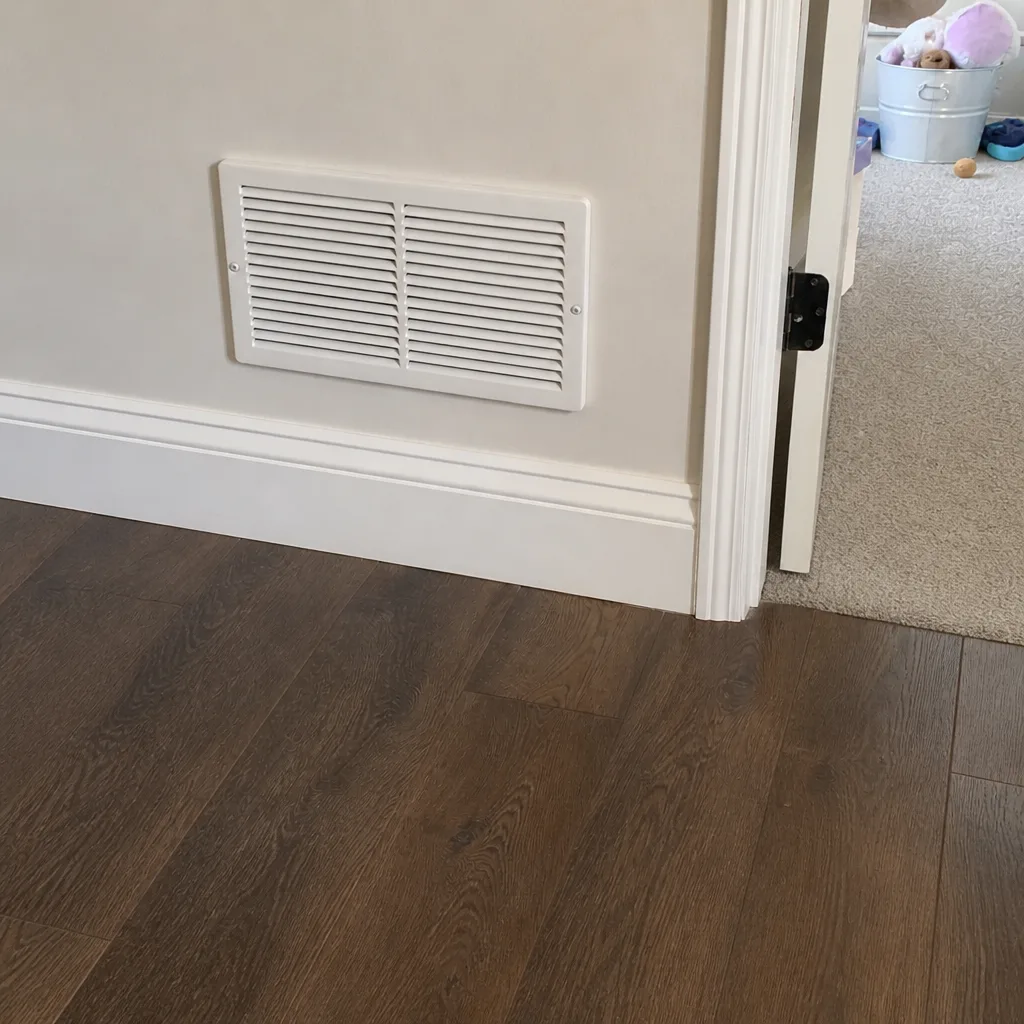 After
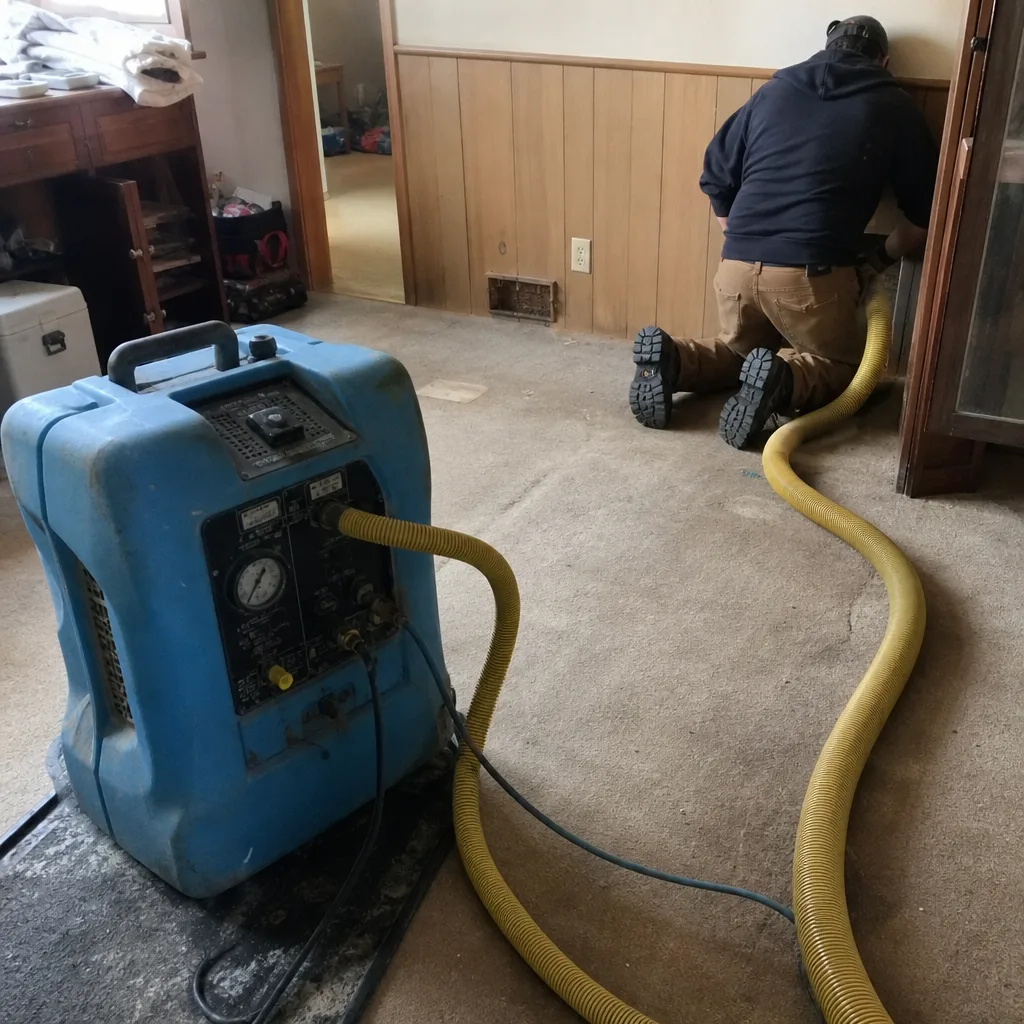 Before
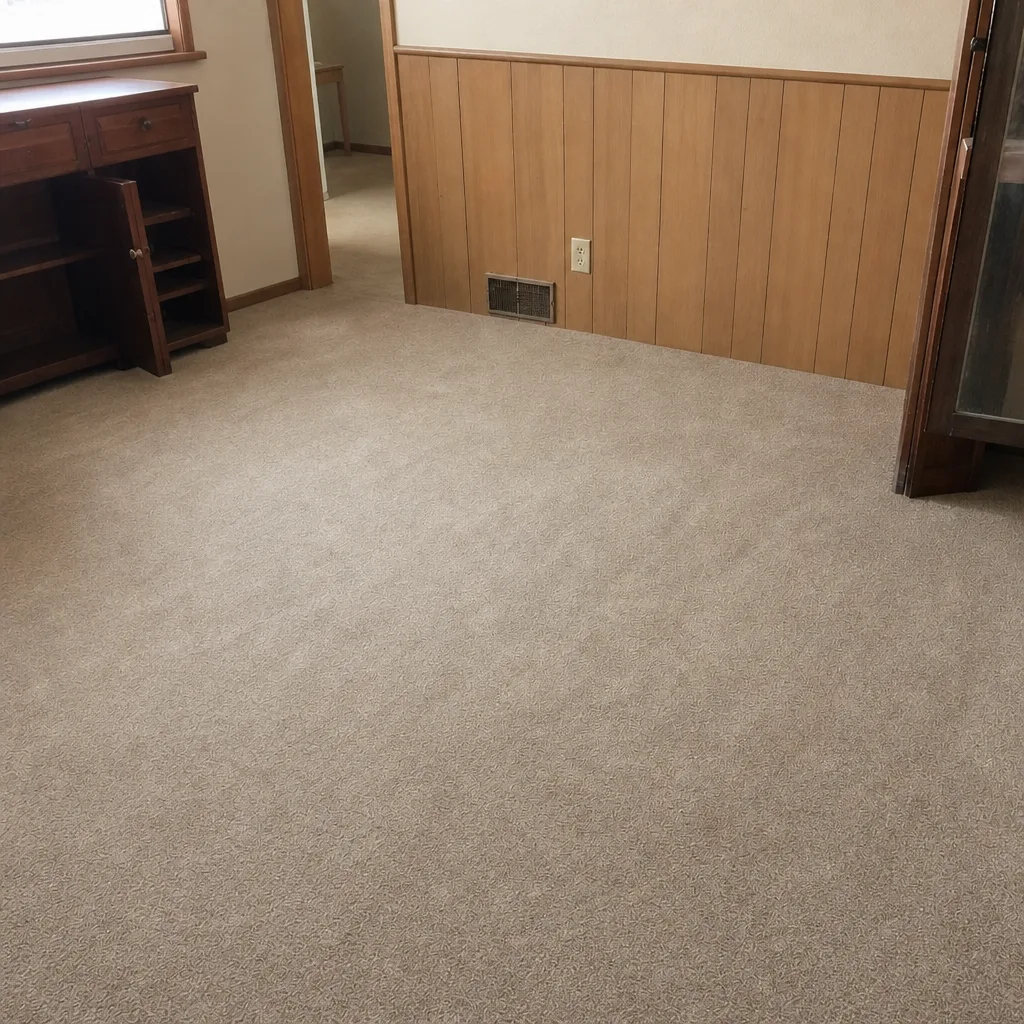 After
When to Call a Professional
Call a professional duct service when any of the following applies, regardless of how clean the registers look. Post-renovation, after any drywall or major carpentry work. Rodent activity, confirmed or suspected, ever, because the risk is not the dust, it’s the contamination. A musty smell when the system runs, because that points at moisture or mold and it needs evaluation before cleaning. Original 1970s or 1980s duct board that hasn’t been serviced, because the material’s age and condition mean the cleaning itself has to be judged before it starts. Ongoing respiratory sensitivity in the household, where the whole system needs to actually be clean, not just the visible surfaces. And any situation where you’ve done the DIY maintenance consistently for years and want a whole-system reset with photographic proof of what was removed.
We’re the team that does this work in Tacoma, and we’re happy to bring the equipment out for a free estimate. Call (888) 870-9539. We answer 24/7. Fast dispatch from 7am to 7pm, Sunday through Friday. Duct Cleaning Tacoma offers free estimates in Tacoma, and the price you get is the flat price per system, not an opener for a larger invoice later.
Frequently Asked Questions
Professional whole-system cleaning in Tacoma is typically quoted as a single flat price per system, agreed in writing before the work starts, and that’s the right structure to ask for regardless of the company. Be wary of per-vent pricing and teaser prices, which are usually the mechanism for a larger invoice once the technician is on site. Ask for the flat price per system plus the before-and-after photos, and compare on that basis. Call (888) 870-9539 for an exact quote, because estimates are free.
A shop vac can clean what it can reach: register covers, filter compartments, a short stretch of duct at the opening. It cannot clean the trunk lines, the return plenums, or duct board beyond the surface, because it lacks the CFM and the mechanical agitation to pull debris off the duct walls. The result is a clean-looking register over an uncleaned system, which is worse than no cleaning at all because it removes the only visible signal a homeowner has that the system needs work.
Cheap quotes are usually suction-only, without rotating agitation brushes or HEPA containment, and that’s essentially the DIY setup with a markup. They also often can’t repair damaged ducts, which is a separate skill and equipment set. A quote that’s half the rest isn’t a discount, it’s a shorter scope. Ask whether the company uses rotating agitation (Rotobrush), HEPA collection (Nikro), negative-air containment (Abatement Technologies), and before-and-after photos of your own ducts. The price gap usually explains itself.
Before-and-after photos of your own ducts are the only reliable proof, and a professional company should offer them without being asked. Photos taken at each register and access point at the start, and again at the end, show exactly what was removed and confirm the cleaning reached past the visible openings. Anything less, including stock photos or a verbal description, doesn’t prove the trunk line was touched. If a company can’t offer photos, that tells you something.
There’s no single answer, because it depends on the house, the duct material, and what’s happening around it. A typical Tacoma home without pets, recent renovations, or moisture issues is usually on a multi-year cycle, not an annual one. Homes with pets, original duct board from the 1970s or 1980s, recent renovations, or any rodent history warrant more frequent service. The right answer is the one that comes from a technician looking at your actual system, not a membership pitch. Call (888) 870-9539 for a free estimate and a straight recommendation.
The first bend of the transition duct and the exterior flapper are within reach of a DIY homeowner, and clearing them is worth doing. The lint packed against the far wall of the vent run and the interior of long vent runs is not, because it takes professional equipment to reach without damaging the duct. Dryer vent cleaning in Tacoma should be framed as fire safety first, not airflow improvement, and the parts you can’t reach are where fires start. That’s the case for calling a professional on the long-run systems.
The Bottom Line
DIY duct cleaning is worth doing for maintenance and worth stopping before it becomes a substitute for the real work. Registers, filters, the first stretch of the dryer vent, and the cabinet face of the air handler are the surface tasks a homeowner can legitimately own. Everything past that, the trunk lines, the return plenum, the porous duct board from decades past, the rodent contamination, the post-renovation gypsum dust, needs equipment rated for the job. Get the DIY maintenance right, call a specialist every few years for the whole-system work, and ask for the before-and-after photos and the flat price per system every time. Your real cost over three years is a comparison of outcomes, not just receipts. If you’re in Tacoma and you’re weighing the two approaches, our team at Duct Cleaning Tacoma is here to answer the question honestly. Call (888) 870-9539. We answer 24/7. Fast dispatch from 7am to 7pm, Sunday through Friday. Estimates are free.
Written by the team at Duct Cleaning Tacoma.